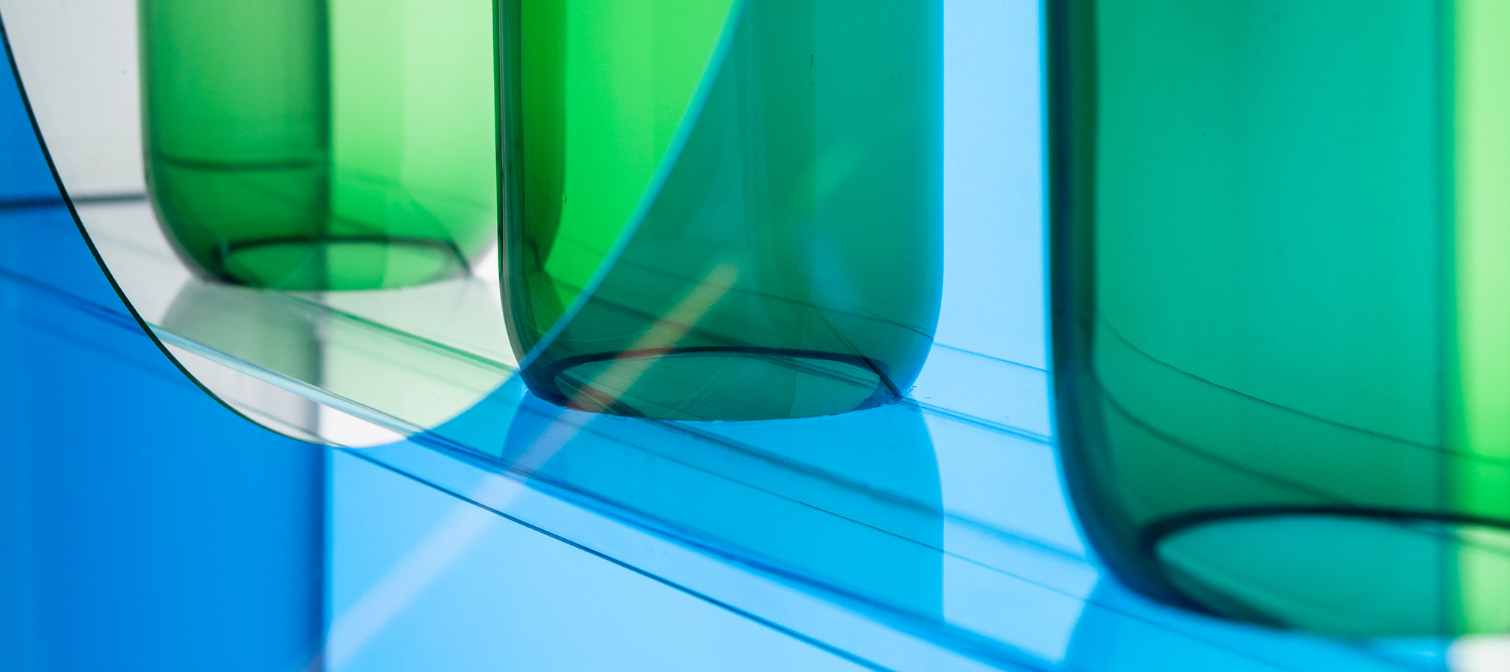
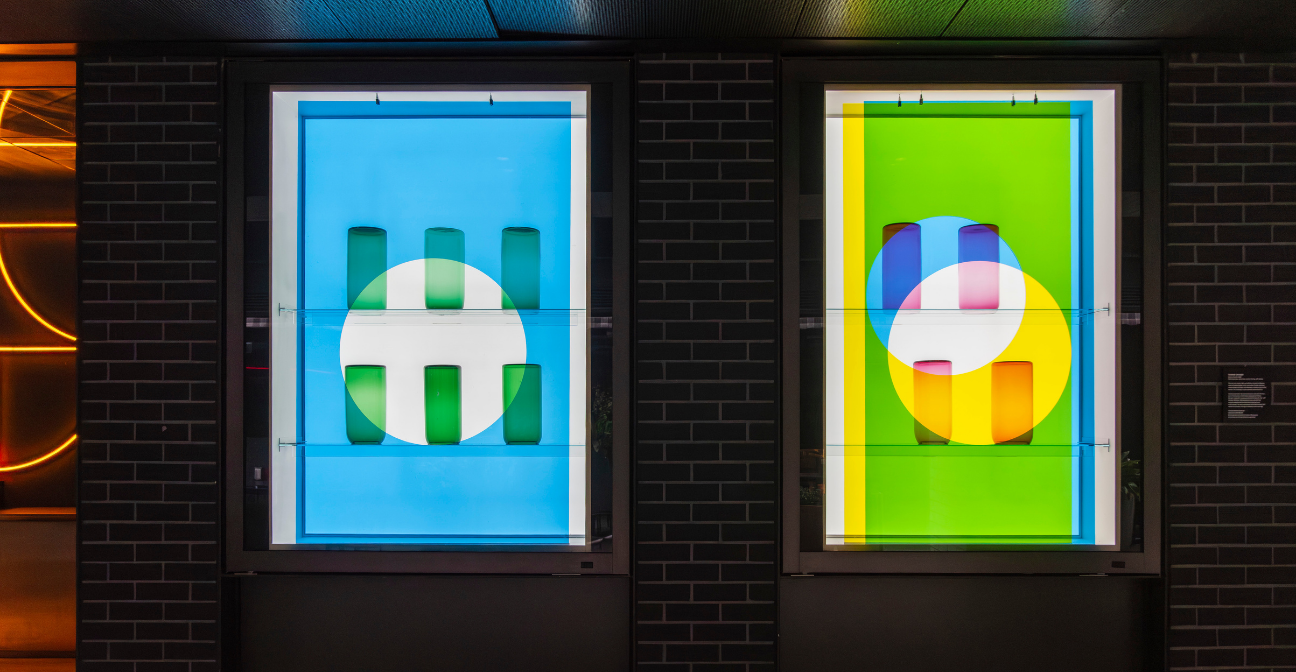
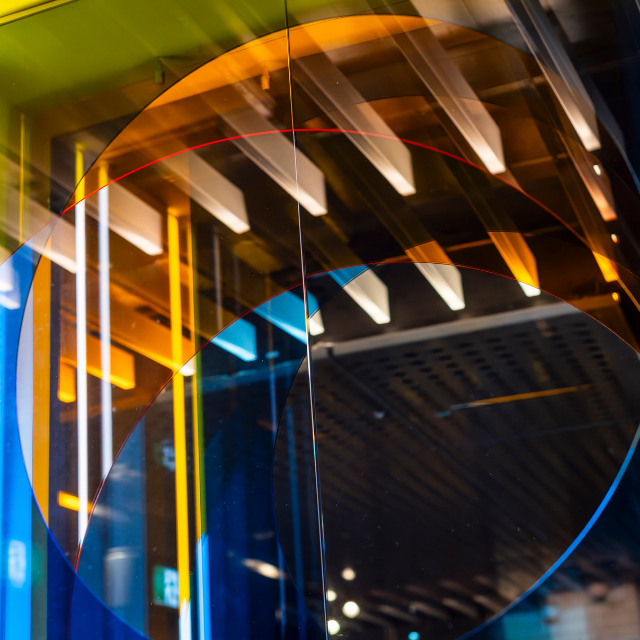
The work centres on colour, light, reflection and an interplay of negative and positive forms. Transparent coloured layers of glass and acrylic overlap like filters, mixing colours, while circular openings, like apertures, reveal cutaways of colour, mirror and vibrant glass forms.
Cavaniglia describes the work as active, fluid and responsive: a flash of colour and reflection to someone hurrying to the metro, and a slower layering of circular forms, reflection and transparency for those who stop to look closely. The mirrored surfaces pull the viewer's own reflection into the work, so the piece never looks quite the same twice. It shifts with the light, the crowd, and the time of day.
“Colour features prominently within my art practice; I consider colour for its ability to optically transform a space or object and to affect an atmosphere.” – Consuelo Cavaniglia
.png)
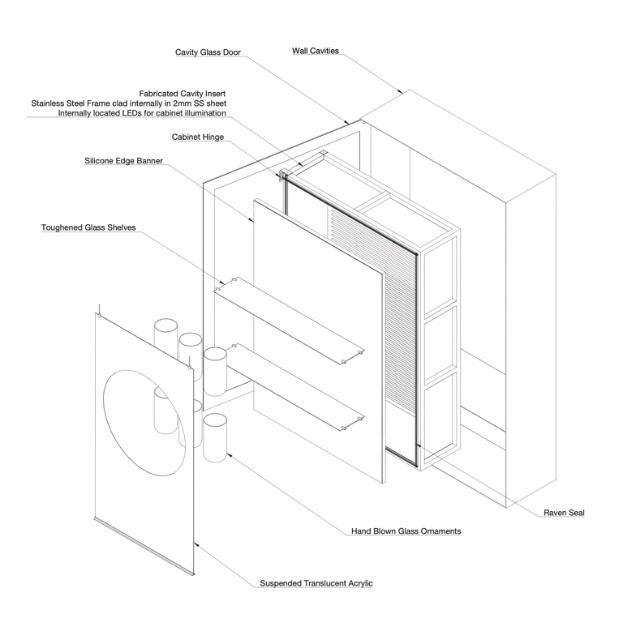
Every component of Swiftly Approaching was custom made for this commission. There is no standard product in the supply chain that produces a hinged, internally lit, mirror and glass Artbox to architectural tolerances, so the team designed and documented one from scratch, down to the last countersunk bolt.
This bespoke approach runs through to installation: each artbox is numbered, sequenced and fitted to a specific cavity, with its own set of fixing marks, hinge locations and pre-assembled internal components. Built once, and built to fit exactly one place.
The material list reads like a still life: coloured glass, mirror, hand blown glass ornaments, and sheets of translucent acrylic, all held inside a powdercoated aluminium and steel frame. Each material was chosen for how it behaves under light, transparency, translucency, reflection and refraction, rather than for its performance alone. Coloured glass and acrylic samples laid over the fabrication drawingsMaterial palette: coloured glass and acrylic samples, laid over the fabrication drawings.
Structure – Fully welded aluminium SHS box frame, 6063-T5, powdercoat finish
Cladding – 2mm fire rated aluminium sheeting
Back panel – Mirror polished stainless steel, bolted and silicone sealed for waterproofing
Glazing – Toughened glass shelves and glass discs, silicone mounted
Colour layers – Transparent coloured glass and acrylic, overlapped as filters
Ornaments – Hand blown glass forms, suspended and shelf mounted
Door – Toughened glass door, top and bottom hinged into the steel frame
Seals – Rubber gasket and silicone edge banding throughout, for full weatherproofing
Illumination – Internally located LEDs, integrated into the internal frame
Each artbox installation is a carefully coordinated overnight process where precision, patience and teamwork are essential. From securing the structural frame to assembling the delicate glass elements, every detail is meticulously executed. The final click of the door lock marks the transformation of months of design, engineering and craftsmanship into a permanent public installation
.png)
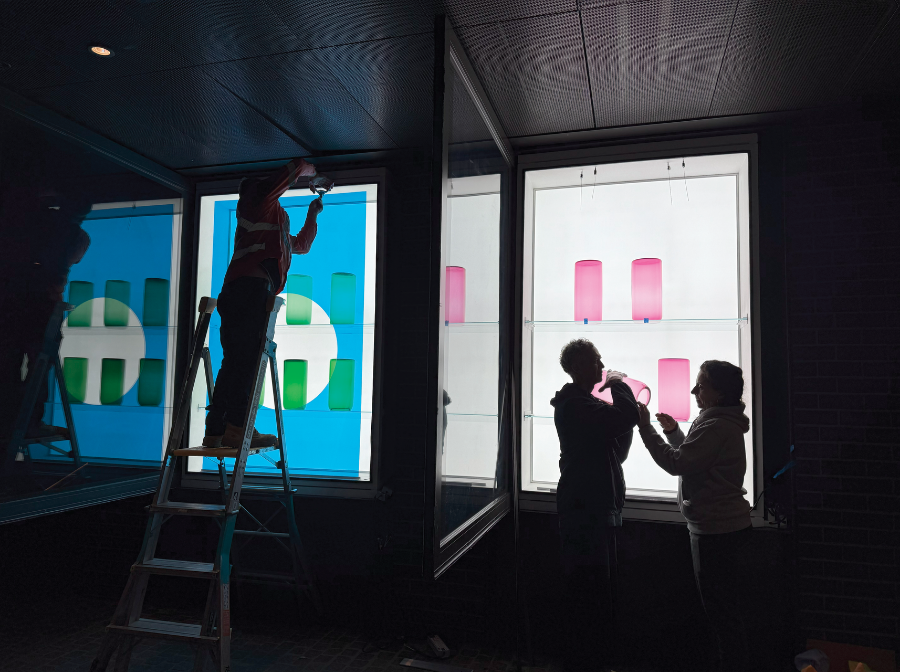
It is late. The concourse that will be full of commuters again in a few hours is empty except for two site crews, a tape measure, and a set of laser levels. One person braces the glass door open; it has to stay that way for the rest of the night, so this is the one instruction nobody is allowed to forget. The other marks drilling points against a set of hand annotated drawings, checking them twice against the fixing marks stencilled into the steel cavity. There is a particular kind of quiet that comes with installing something this precise in a space that is usually this loud. Every measurement gets called out and repeated back. The mirror panel goes in with someone watching the power cord the entire time, because it only takes one snag to undo weeks of factory work. When the internal frame finally swings up and locks into the bottom mount hinge, there is a small, unremarkable click: the kind of sound that means months of drawings, sample boards and prototypes have just become a permanent part of a train station. Then the door shuts, the lock turns, and the crew moves on to the next cavity.
.png)
Every Artbox follows the same eleven step installation method, developed to be repeatable across dozens of cavities on an active construction site, by different crews, with identical results.
- Hinge fixed into the steel top and bottom of the glass door assembly.
- The glass door is lifted and placed into the wall cavity.
- The door is opened and braced. It must remain braced open for the entire remainder of the install.
- Holes are marked and drilled: countersunk on the front underside of the steel, standard holes at the back.
- The bottom mount is fixed to the steel using stainless countersunk and hex head bolts, washers and nyloc nuts, fully tightened.
- The top mount is aligned with the bottom mount, holes marked, pilot holes made, and the top mount temporarily removed.
- The top mount is loosely placed on the internal frame, ensuring the hinge pivot is hooked properly.
- The internal frame, pre-fitted with its grey mirror backing, is lifted by its top mount and hooked over the bottom mount hinge, watching the power cord throughout; tolerances here can be tight.
- The internal frame is swung out, holes aligned with marks, and self tapping screws driven into the steel to fix the top mount securely.
- Pre-assembled glass discs and ribs are silicone bonded to the shelves, silicone discs fitted, shelves inserted with grub screw and rubber, and the assembly cleaned.
- The internal frame is swung shut, power is connected, and the door is shut and locked.
- Glass cups are positioned and siliconed to the glass, hand blown glass ornaments are secured to the shelves via hanging mount, the internal frame is swung closed, power connected, and the door shut and locked for the final time.